


Smartphone photography has become such a staple in everyday life, that we can’t image ourselves living without it. A picture now very quickly replaces written notes, to ourselves and friends, of just about anything; grocery items, a nice piece of furniture, a parking spot number… Did you want to write it down? I’ll take a picture… Smartphone cameras are improving at every iteration, and while the flagship model of the major players can still be expensive, there is still plenty of choices available with minor models and older releases. In short, there is a good chance that if you are reading this, you have a good digital camera with you, at every moment.
A look at the camera
A camera is a camera, so while a smartphone camera might look and operate (and mostly weigh) differently than a regular digital camera, or a DSLR, it still obeys the same principles about exposure and composition that we are familiar with. Hence, let’s have a deeper look at these mighty creations and it will be easier to apply our knowledge from other photography classes and tutorials.
Being a fixed lens system, knowing the focal length of our smartphone camera can help us understand a few things. This site has compiled quite an extensive 35mm equivalent reference, where you will notice that most of the latest models have their main camera sitting at 28mm, which is wide. Depth of field (DOF) in these cameras is pretty much huge. It’s calculated at around f/16 or even f/22, and that’s because of the small physical sensor. This means that you cannot achieve shallow depth of field in camera. In fact, many manufacturers introduced some elaborate tricks to achieve that, like a second camera and software processing.
Shoot like a pro
The moment you start using the smartphone camera for your creative projects, all the same rules of photography apply: learn your camera manual, search for interesting subjects, explore different points of view, edit the best. Let’s look at these individually.
Learn your camera manual
This may sound completely off. Smartphone manufacturers and camera app developers are often doing a great job at providing intuitive interfaces and workflows to their users, but they can only pack that much on the screens, an thus many settings are hidden or at least not in plain sight. Watch for example this video for 20 Tips, Tricks and Settings on iPhone 7.
Search for opportunities
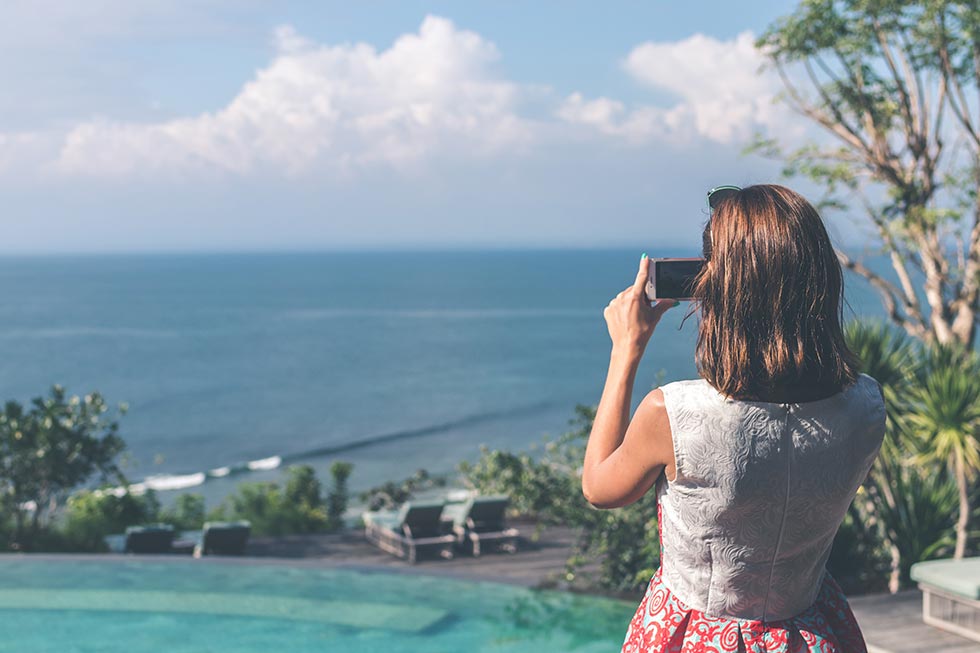
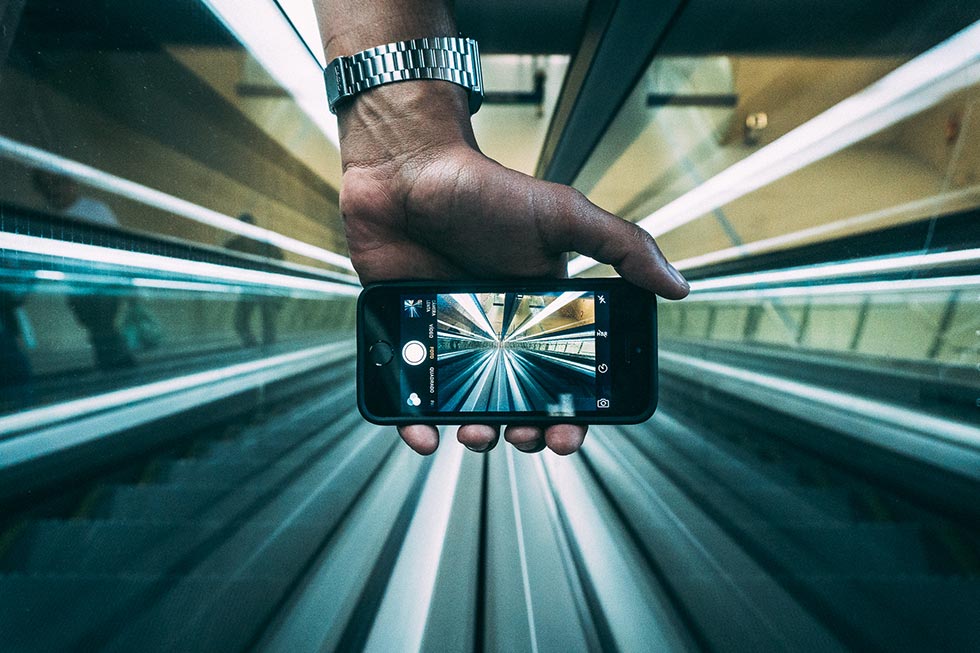
Snapping random pictures rarely produces good results. A photograph must communicate an intent to become meaningful and interesting. Scout the location, actively look for something interesting to take a picture of, then compose and expose it right. Leading lines, symmetry, reflections, framing, simplicity, colors, golden hour, sunrise, sunsets. Apply the rules of thirds, or break it if needed. Explore different points of view. Look around, see what other people are seeing, and find new perspectives. Go macro.
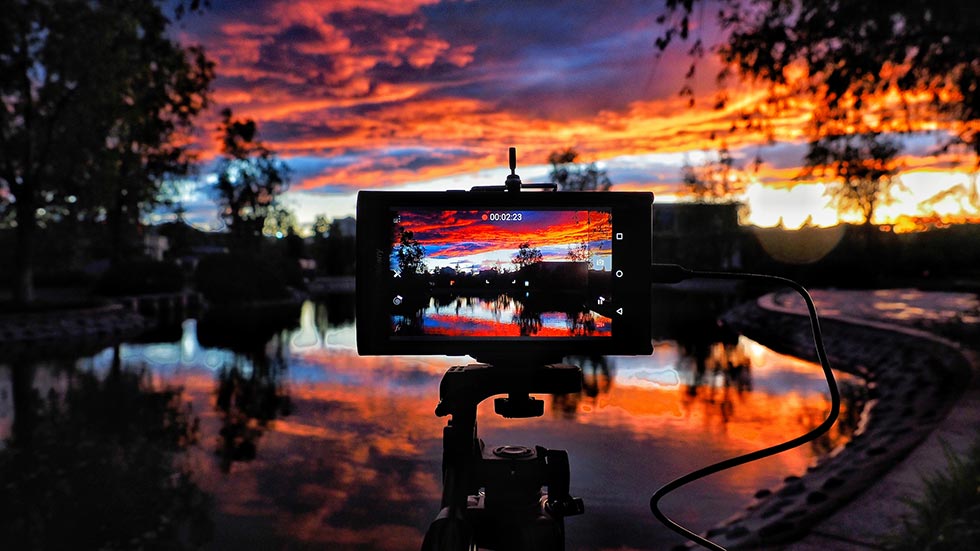
One of the biggest advantages of smartphone cameras is that they are light and compact. For this reason you can more easily achieve point of view that are cumbersome, difficult or impossible, with regular cameras. For example, you can easily drop to ground level and even set a tripod for that matter. A selfie-stick can easily bring your point of view way high [never put yourself or others in danger of harm to take a photo: it’s never worth it].
Edit the best
I am all for shooting a lot, and keeping the best. While it’s arguable that post-processing can revive even a bad shot, I prefer to have a better version of the same image, discard the bad shot and then enhance what I have left. Once you pick your best, there is little reason to keep the sub-par images. To edit mobile camera images there’s plenty of resources, and it all depends on where you want to do the editing. One choice is obviously to transfer them onto your Lightroom catalog and proceed as with any other image you already have. But I am sure many of you are thinking more in terms of mobile editing, hence mobile apps.
In that regards, my personal winner is Snapseed, by Google. It is extremely powerful, yet has a very intuitive and simple interface, packed with features. You can do so much that you won’t even believe it. If you haven’t done so yet, do give it a try: after all, it’s free.
Useful accessories
If you are traveling and trying to stay nimble with your camera gear, bringing only your phone might not be enough through extended walks, and varieties of environments and situations, so here a quick list of accessories that I personally find useful when relying on my phone as my only camera.
External battery charger
Smartphones consume a tremendous amount of energy, mainly through their bright screens. Taking lots of photographs and videos negatively affects battery life, so having a powerful battery charger you can rely upon, can save you lots of frustration. Here is an example.
Selfie stick
If you get past their name, a selfie stick is effectively a great arm extension that allows you to reach difficult places and perspectives. When used correctly, lawfully and safely, they can add a lot to your creative arsenal. Here one that even has a built-in tripod.
Camera lens extensions
These might be a little cumbersome to use, but as they change the focal length of your phone camera, they will make for interesting possibilities. This kit comes with a travel carrying case, and includes a circular polarizer.
Waterproof case
If your smartphone is not waterproof, it doesn’t take too much to protect it. I purchased these bags to protect against the rain and accidental fall (in the mud) during a trip to Maui. They are rated for underwater photography, but I used a GoPro for that, hence I can’t show any results. Still, peace of mind if you are traveling.
Conclusion
Smartphone photography can be as fun and rewarding as photography with professional gear, even more so given its light weight and footprint. By understanding a little more about the camera, we can apply all the same exposure and composition rules as in traditional photography for improved results. Read my posts about exposure and composition to learn more. In closure, I have added two videos below that I found very useful when preparing this article.
If you liked this article, SHARE IT with your friends and use the referral links included when proceeding to a purchase.
Here are few item recommendations.

![]()

![]()

![]()

![]()
By using my links to buy/browse gear, you’re supporting my photography and articles.
