


So you got a DSLR but you feel like you are still using it as a point-and-shoot? The various shooting modes get you all confused, even after reading the manual twice? Do not despair: I am going to show you how to get more out of your camera and get you on your way to hours of photo tweaking. :-)
Autopilot
If you are using the “auto” mode, then effectively your camera is equivalent to a fancier point-and-shoot. Let’s see why you don’t want to use this mode, with few exceptions.

Manufacturers have put lots of intelligence into modern cameras so that these can try and get perfectly focused and exposed pictures. This typically works very well, but then there are cases where it doesn’t. For example, when the camera insists into popping the flash at that nice sunset; or when it insists on focusing on the light pole nearby instead of the bridge in the back.
Why is that? The camera is always trying to take the best picture it technically can by adjusting all the parameters for that. Unfortunately it doesn’t have a clue about what the subject of the picture is meant to be. While we love the smarts of the modern cameras, we need to retain some control to get the pictures we ultimately want.
Beyond the auto mode
Let me share the settings I keep my camera set on most of the time, as they work very well for me in a variety of scenarios. I’ll discuss later what I change according to specific situations. Before I continue, my descriptions will reflect the fact that I own a Nikon camera; Canon and other manufacturers have similar concepts that sometimes have slightly different names. That said, here my settings:
With these settings, taking pictures is mostly a focusing exercise where I overlap the focus point in the viewfinder to the item that I want sharp in the picture, letting the camera fixing focus and exposure, based on what I decided to be the important subject of the picture. That’s it. Really.
Why does it work?
Let’s go over those settings and see why they work for me, and what I do to adapt to changing conditions.
![Camera setting: Program Mode [P]](https://salvoventura.com/wp-content/gallery/2014-tutorials/2014.07.22-camera-settings-summary-p.png) Program mode is a semi automatic mode, where the camera selects aperture and shutter speed automatically based on the light measured through the built-in meter. This way we can still use the sophisticated camera metering capabilities, and not have to worry about that as most of the times the camera will be right.
Program mode is a semi automatic mode, where the camera selects aperture and shutter speed automatically based on the light measured through the built-in meter. This way we can still use the sophisticated camera metering capabilities, and not have to worry about that as most of the times the camera will be right.
 Centered metering is what does the trick for me: this setting instructs the camera to measure light and thus decide exposure, based on where the focus point is. Did you know you can move the focus point around your frame? You should experiment and find that you can pretty much always nail the right focus and exposure for the subject of your pictures, no matter where that is in the frame, and retain your original composition.
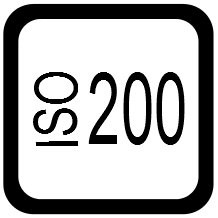 The selected ISO value is good for outdoors, and generally whenever there is sufficient light around.
 I always shoot in RAW, and that’s because I always process the pictures I take. As a rule of thumb, if you shoot RAW, you must process your pictures afterwards. If you don’t want to, your camera is perfectly capable of producing excellent JPEG images, and you can choose various settings of the output if you are not completely satisfied with the results. Labels like “Normal”, “Vivid” and “Landscape” probably ring a bell now, don’t they? :-)
What to change?
When depth of field is key, I change the mode from program (P) to aperture (A), and set the camera to an adequate f-stop. The camera will then adjust the shutter speed accordingly. Remember that a smaller f-stop means a deeper depth of field, while larger f-stop means a shallow depth of field. When to use either?
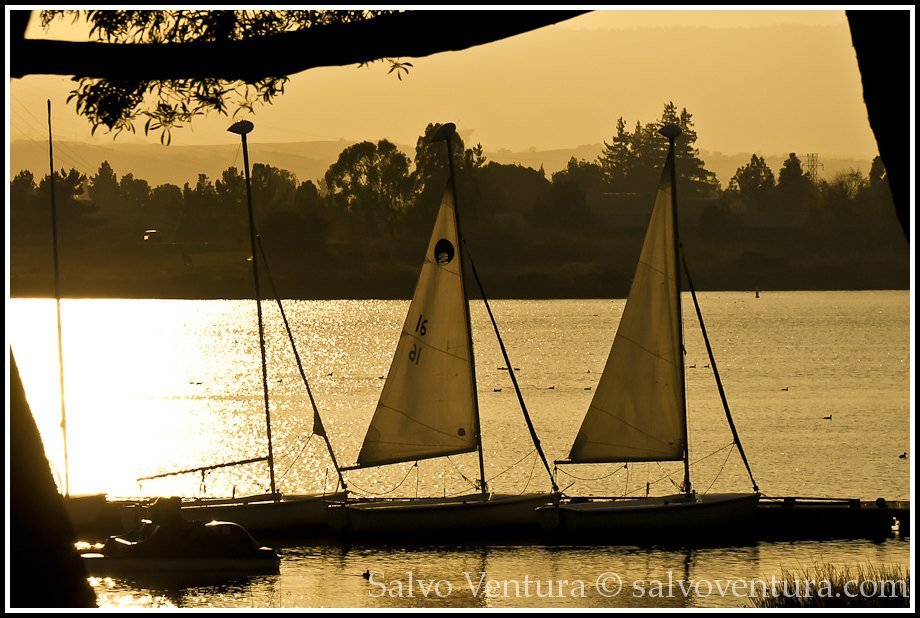
Deeper depths are desirable if you have your subject standing in front of a far background and you want both to be in focus. In those cases, opt for a smaller depth of field (say f/11 but do experiment). Landscape photography also benefits from the same.
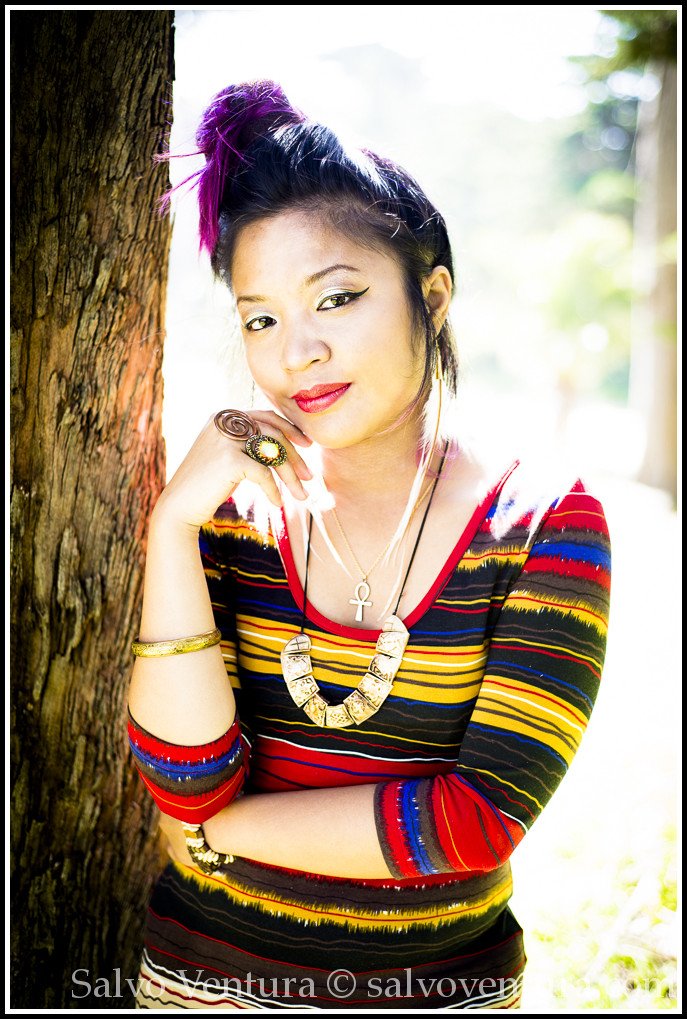
Shallow depth of field is instead desirable for the opposite reason: you want your subject (or a specific portion of it) in focus while blurring everything else. In such cases you want something in or around f/2.8 or less. Exact focusing may become more difficult, though, so a tripod might be useful. Portraits are mostly shot in this mode.
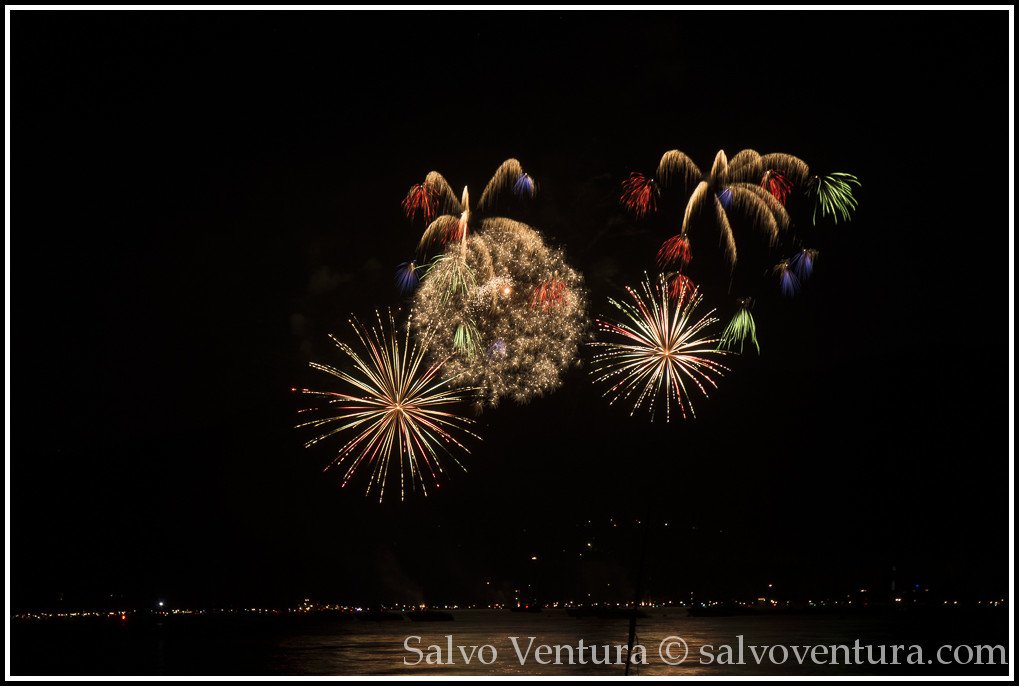
When I am after motion blur – for example fireworks, car light trails – then I change the mode to shutter speed (S), and allow the camera to adjust the aperture accordingly. Other times I go in full manual mode, especially when I want to assure consistency of exposure among multiple shots; useful for example when preparing for panorama stitching.
When the pictures become dark or blurry and using a flash is impractical or undesired, I typically increase the ISO few stops up, always trying to stay as low as possible. Some cameras have an auto-up ISO setting, that will boost the value automatically if the selected one does not fit the bill. A nice little helper indeed, helping you never lose the shot. Use it. I would rather have a noisy shot than no shot at all.
Conclusion
There’s plenty of resources and tutorials that explain in much depth all about aperture, shutter speed, exposure, etc… so I hope this quick guide proves useful to your initial steps outside of the ‘auto’ mode. Your camera manual should make more sense now, and memorizing capabilities and settings will surely prove useful in the field. I encourage you to transition gradually from your current habit into the new one, and get more comfortable with the additional thinking and planning involved into taking your next great pictures.
Here a graphical summary of my default settings:

Of course, if you have any questions or comments, feel free to use the comments section below.
