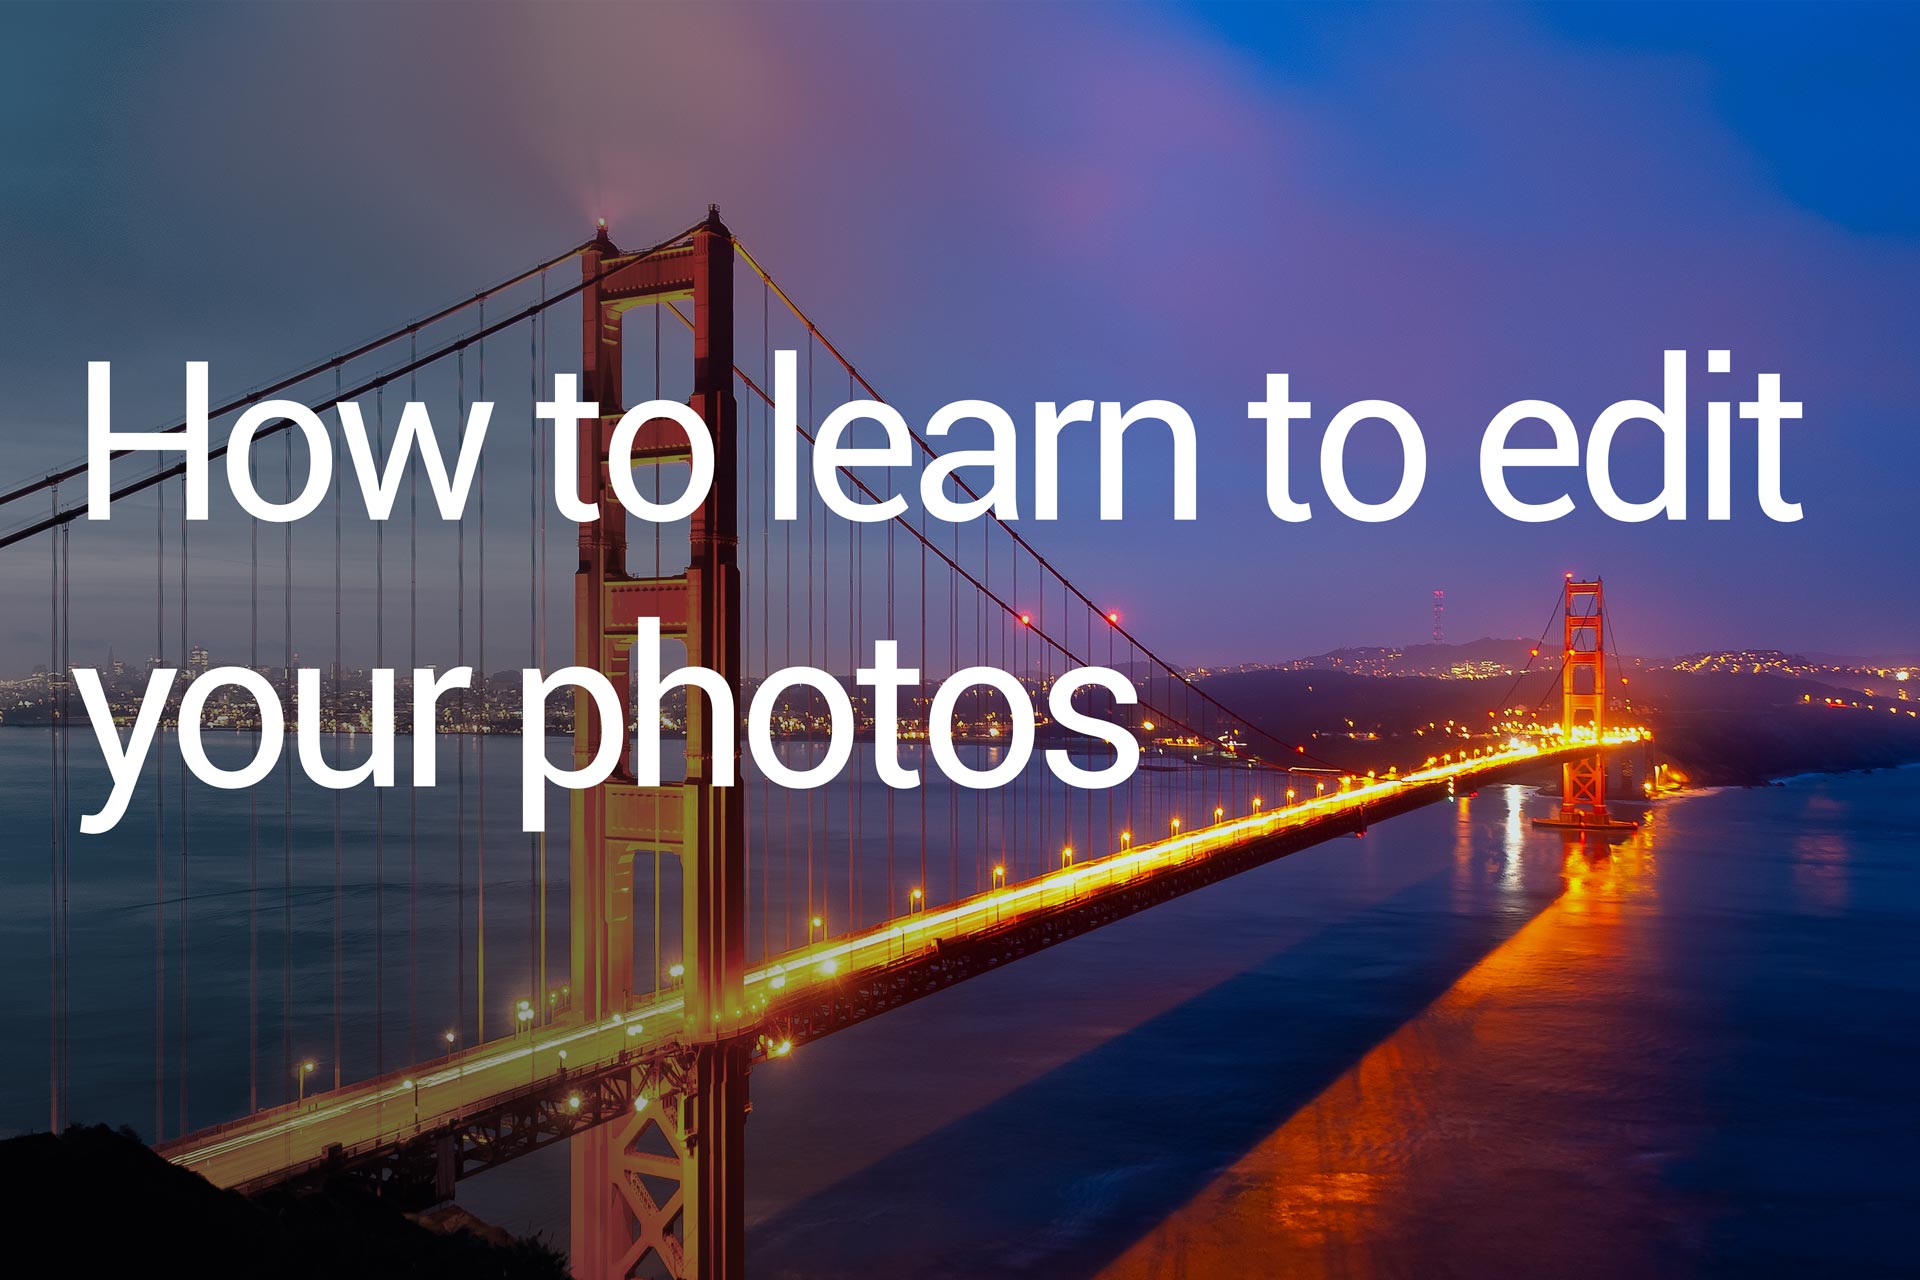


Photo editing and manipulation is a desired (or necessary) skill for the vast majority of photographers, from amateurs to professionals. These skills go beyond the application of Instagram filters or Lightroom presets, entering the controversial world of photoshop-ing. If you want to learn what resources are there to learn to edit your photos, keep reading.
What is editing?
Editing is a process that manipulates an image in order to enhance the original scene with regards to its clarity and appeal. We edit an image (generally) to make it look better. “Better” means many things to many people, and you start from a very basic exposure compensation to a very elaborate image restoration. Let me try and create broad categories of editing actions.
Exposure correction
Manipulations that are directed to re-balance the overall exposure of the image, fall in this category. We try to achieve an overall tonal balance so that no area is too dark, nor too light, allowing us to discern more details.
Color correction
Manipulations that are directed to recover or restore the colors of the original scene, fall in this category. White Balance point correction is a first example.
Mood control
Manipulations that are directed to influence the mood of the scene are part of this group. High contrast evokes alertness, action, while softer images inspire a dreamy atmosphere. The overall tonal cast can move from joyous, with gold/yellow tints, to sad or mysterious, with blues and grays. Saturation or lack of it, also is part of this group.
Noise reduction
Shooting at higher ISO settings will inevitably introduce noise, which comes in two forms: luminance and color. Color noise in particularly distracting, as it artificially introduces areas of unrelated colors where it occurs (typically green or purple). Luminance noise is generally more tolerable.
Sharpening
Manipulations that are directed to enhance the clarity of lines in the image, by increasing their contrast. This makes the image somehow crisp, hence more appealing.
Blemish removal
Manipulations that are directed to replace parts of the image, with the objective of hiding or removing distracting details that are thus considered blemishes. Blemishes include not only zits and scars on a person’s skin, but also leaves or a piece of garbage on a street, or a bird or plane in a clear blue sky, or a telephone line in front of a monument.
Object insertion
In this category fall any manipulations that are directed to introduce a new foreign object into the scene. It could be a piece extracted from another image, for example during a montage, or it could be some text, like in posters.
If there is something that I have missed here, please point that out in the comments and I’ll be happy to address it.
Editing software
Today there is a vast choice when it comes to image editors, both commercial and free or open source. In the industry, the leadership stays with Adobe and their Creative Suite. Photographers will mostly use Adobe Photoshop and Lightroom. These software programs offer a great deal of features and capabilities, but the learning curve can be steep even after you master their main concepts. Good news is that there are resources that come to rescue; best of all, most are completely free.
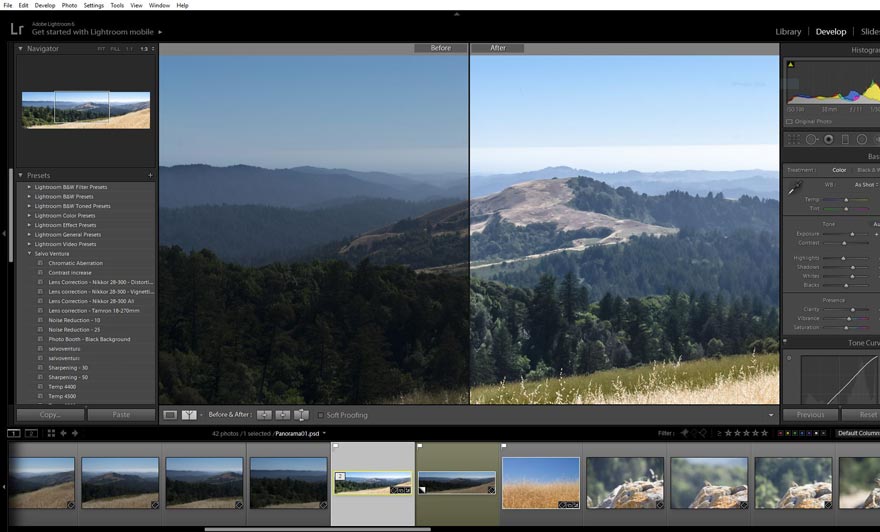
Adobe Lightroom
How to learn
Rather than providing a list of resources that you could have access to, let me list what I have used myself in my continued learning process. I don’t feel like a master today, but I have learned a lot, so here are my sources.
Phlearn
When it comes to tutorials, YouTube has something for everyone and just about anything. If you search on YouTube for “Photoshop tutorial” you will find tons of material. The one channel I have been religiously following for the past three years is Phlearn, by Aaron Nace.
This channel was started in 2011, and today counts on 550 videos, has had over 80 million views, and 1.4 million subscribers. Impressive, right? The channel covers not only digital editing, but also photography, with tutorials on lighting for example. However, the core is dedicated to teaching Photoshop, in easy to digest bits.
I have personally learned a lot from Phlearn, and will continue to follow the channel with their free tutorials. If you want to accelerate your learning with even more resources, you can purchase their Plearn Pro subscription, which gives you access to PRO tutorials. Compared to the free tutorials, these are longer, more focused and more in depth and include all the project files used in them.
Books
Several years ago, I was looking for books that covered the digital photo editing topics. Among many authors, Scott Kelby captured my attention so I ordered his Professional Portrait Retouching Techniques for Photographers Using Photoshop. I was simply amazed by the results. Mind you, the book is not for professional photo retouchers, and Scott states that very clearly. For portrait photographers, though, this book is an invaluable addition to your tool set, so I can highly recommend it. Each section provides a technique and the steps are very clear and easy to follow. The advantage of using a printed book, is that you can have it open and follow along, while on your screen you have your favorite editor.
You are not going to apply each and every technique to all of your pictures. But you will have the tools to sort out little imperfections that naturally occur during a photo session, and adds that little zest to your final product.
I could not find an updated version of this book, though: there are other titles for more recent version of Photoshop, but this seems to be the only one for Professional Portrait Retouching.
Local library
Besides access to excellent books for free, your local libraries may even have a computer room with those expensive software installed for you to use free of charge. You should definitely check your local library, and maybe spend few hours a week following along some of the tutorials, before you have to commit to a purchase. I have looked and occasionally used some books from my library.
Conclusion
Ever since photographs have become digital, the editing process of images has become much easier. There are several tools available, some commercial, others free. Same goes for learning resources. YouTube has a vast library of step-by-step tutorials that can get you pretty much anywhere. You local library is another great resource, both for their access to books and even the software itself.
If you liked this article, consider sharing it with your friends and use the referral links included when proceeding to a purchase. It helps me a lot, and does not cost you a dime.
Adobe Photoshop + Lightroom CC, Buy on Amazon
Professional Portrait Retouching Techniques for Photographers Using Photoshop, Buy on Amazon
Phlearn PRO Subscription, Buy on Plearn.com
By using my links to buy/browse gear, you’re supporting my photography and articles.
